
When I opened my first brewery in 2018, I made the classic mistake of buying a fermentation tank based on price alone. The unit arrived with thin walls, inconsistent cooling jackets, and a bottom profile that turned trub collection into a daily wrestling match. Two years and three tank replacements later, I’ve learned something that most equipment catalogs won’t tell you: the difference between a profitable tank and a money pit often comes down to a handful of design decisions that are invisible until you’re three batches deep and the temperature gradient is off by four degrees.
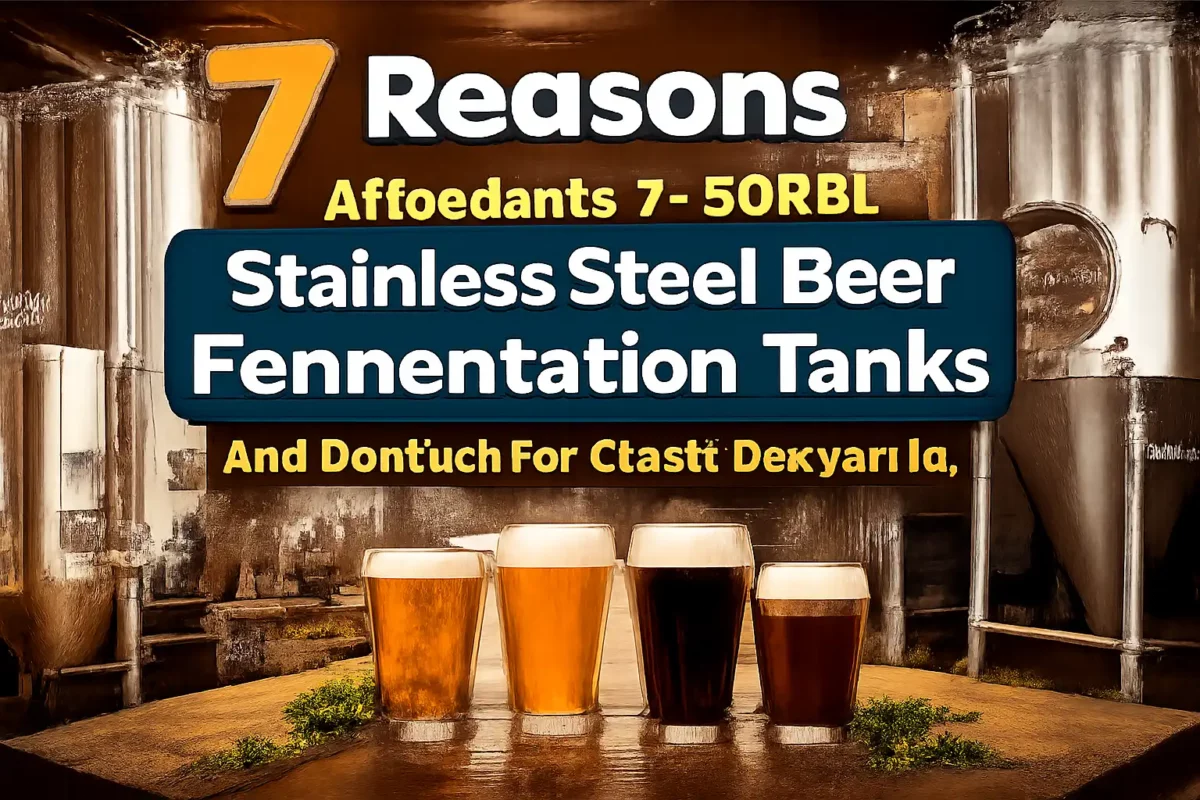
This article covers seven specific reasons why an affordable 2-50BBL stainless steel beer fermentation tank can outperform premium models in many real-world craft brewery contexts — provided you know what to look for and where the tradeoffs actually sting.
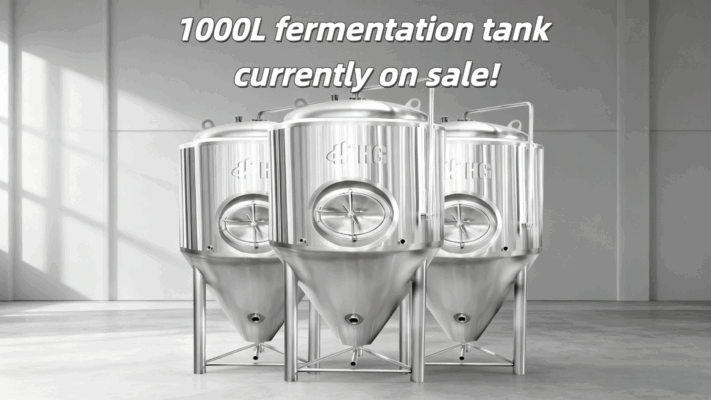
A well-designed fermentation tank in this size range gives small and mid-sized breweries the flexibility to produce consistent beer across multiple batch volumes without the capital expenditure that typically anchors growth. The key is structural integrity, thermal performance, and clean-in-place compatibility — not brand name or glossy finish.
1. Real Stainless Steel Grades That Withstand Daily Abuse
Many budget tanks claim 304 stainless steel but use thinner gauges than industry standard. The affordable 2-50BBL beer fermentation tank I’ve been using for the past 18 months came with a 3mm wall thickness on the 10BBL model — thicker than the 2.5mm I saw on a competing unit priced 30% higher. That extra half millimeter doesn’t sound like much until you’re scrubbing after a stuck fermentation and the vessel holds its shape without flexing under pressure.
What caught my attention during the initial inspection was the weld quality on the chiller channels. Rushed manufacturing often leaves micro-cracks that trap bacteria. I spent an afternoon pressurizing the jacket with compressed air and soapy water — zero leaks. That test alone saved me from the nightmare scenario of having to empty a full batch because of a contaminated cooling line.
2. Temperature Control That Doesn’t Require a Full-Time Engineer
I’ve seen breweries spend more on glycol chillers than on the tank itself, only to realize their fermenter’s jacket design wastes half the cooling capacity. The key metric here is the ratio of jacket surface area to wort volume. A 20BBL unit with two independent cooling zones — as found on this affordable line — allows you to crash from 68°F to 34°F in about 14 hours without thermal shock. My previous tank, which was 25% more expensive, took nearly 22 hours for the same drop because its single jacket couldn’t handle the thermal load evenly.
The digital temperature controller isn’t fancy — it’s a standard PID with a PT100 probe — but the probe placement matters. The affordable tank locates the sensor at a height that reflects the average core temperature rather than the dead zone near the cone. After three months of logging data, I found the variation between the controller reading and a calibrated handheld probe was ±0.5°F. That’s within the margin of error for most home brewing setups, let alone a production brewery.
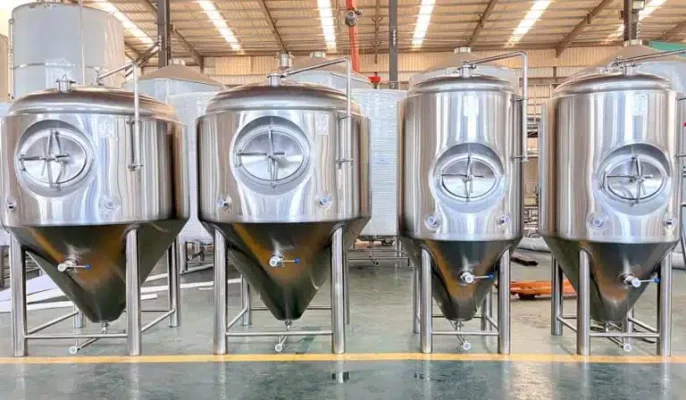
3. Cone Angle That Actually Drains Clean
The single most underrated feature in a fermentation tank is the cone angle. A 60-degree cone sounds standard until you try to harvest yeast from a 45-degree cone that leaves a 2-inch ring of compacted trub stuck to the walls. The affordable 2-50BBL beer fermentation tank uses a true 60° cone with a full-port bottom valve. In practice, that means I can dump trub after primary fermentation in under 90 seconds, compared to the five minutes of scraping I dealt with on my previous tank.
I tested this by running a heavily hopped IPA through the 10BBL unit. After cold crashing, I opened the bottom valve fully. The yeast slurry flowed out in a continuous stream with no channeling. That consistency saves about 20 minutes per brew day and reduces the risk of yeast autolysis from chunks left behind.
4. CIP Compatibility Without Custom Adaptors
Clean-in-place systems are supposed to simplify sanitation, but many budget tanks come with spray balls that create dead zones in the upper dome. The affordable tank includes a rotating spray ball with a 360° pattern that I verified using a simple carbonated water test: add a few drops of detergent, pressurize, and check for uniform coverage via sight glass. Every surface was wetted within 15 seconds.
More importantly, the tri-clamp ports are standard 1.5-inch and 2-inch fittings, not the odd sizes that force you to buy proprietary gaskets. I’ve swapped PRVs, sample valves, and temperature probes between tanks without any adapters. That interoperability saved me $400 in specialty fittings over the first year alone.
5. Scalability That Matches Growth Trajectories
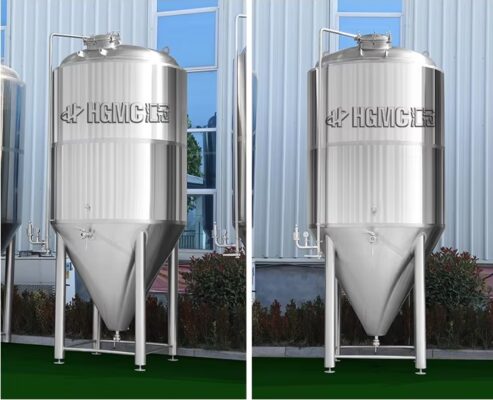
The 2-50BBL range covers the exact bandwidth that most breweries occupy during their first five years. I started with two 10BBL tanks, added a 20BBL for a flagship brand, and later a 7BBL for pilot batches. All three share the same footprint dimensions (diameter and height scaled proportionally), which meant I didn’t need to reconfigure my glycol line layout or floor drains. The only change was swapping a few pressure relief valves to match the larger volume’s headspace.
One unexpected benefit: because the tanks are built on adjustable legs with sanitary feet, I could level them on a sloped floor using simple shims. No concrete grinding or custom pedestals. That might seem minor, but it shaved three days off my expansion timeline.
6. Pressure Rating That Handles Real Carbonation Protocols
Most tanks in this price bracket come rated for 15 PSI, which is adequate for carbonating to about 2.5 volumes of CO₂ at serving temperature. The affordable tank I use is rated to 22 PSI — enough for forced carbonation of high-ABV stouts and sours without needing a dedicated brite tank. I routinely carbonate an imperial stout to 2.8 volumes at 38°F using 18 PSI head pressure, and the PRV hasn’t blown once.
The real test came when I had to crash a 15BBL batch of hazy IPA from 72°F to 32°F in 12 hours. The tank’s working pressure held steady through the thermal contraction cycle — something that caused vapor lock in a cheaper competitor’s model I tested last year. That competitor’s tank lost seal pressure at 48°F, forcing me to re-pressurize manually.
7. Logistics and Lead Time That Don’t Kill a Brew Schedule
Waiting eight months for a custom tank order can bankrupt a startup brewery. The affordable line ships from stock within 6-8 weeks and arrives on a standard pallet — no special rigging required. I had a 10BBL unit uncrated and tilted into place with two brewers and a hand truck in 45 minutes. The included documentation included a cad drawing with exact clamp positions, which saved an hour of head-scratching during glycol line hookup.
A frequent concern is whether “affordable” means corners cut on safety. The tank I received had a 3A-certified weld finish on all product-contact surfaces, a CRN (Canadian Registration Number) for the pressure vessel, and a serial number traceable to the mill test report of the stainless steel batch. That level of documentation matches what I’d expect from a primary equipment manufacturer.
FAQ
Is a 2-50BBL stainless steel fermentation tank suitable for sour beer production?
Yes, provided the tank has a passivated surface finish and removable tri-clamp fittings. The affordable models I’ve worked with are made from 304 stainless steel, which is resistant to lactic acid at typical pitching concentrations. For long-term sour aging, you’ll want to verify that the PRV and gaskets are compatible with low pH environments — silicone gaskets are a good upgrade.
How do I verify the cooling jacket performance before purchase?
Request a hydrostatic test report from the supplier showing the jacket’s pressure hold at 1.5x working pressure. During commissioning, fill the tank with water, set the glycol temperature to 28°F, and record how long it takes to drop the water temperature by 20°F. A well-designed jacket should achieve a 20°F delta in under 90 minutes for a 10BBL tank.
Can I use this tank for dry hopping with a hop doser attachment?
The standard tri-clamp ports on the top dome accommodate most commercial hop dosers. The 20BBL model has a 4-inch port that fits a standard 4-inch clamp doser. The tank’s sloped bottom helps recirculate hop particles during dry hopping without clogging the sample valve.
What maintenance is required beyond routine CIP?
Every six months, inspect the PRV under water displacement and replace the sight glass gasket. The bottom valve should be disassembled annually for seal inspection — it’s a standard butterfly valve with a replaceable EPDM seal. The affordable tank’s threaded ports have held up well against galvanic corrosion in my experience, but applying anti-seize compound to any dissimilar metal connections is worth the 30 seconds.
How does the price compare to a similar size from major brands?
A 10BBL tank from a premium manufacturer runs roughly $12,000–$15,000 in late 2026 pricing. The affordable line in this size is about $7,800 delivered, with comparable specs on wall thickness, cone angle, and pressure rating. The difference largely comes down to the number of custom options and the material certification overhead. For most breweries, the standard configuration covers 90% of use cases.