
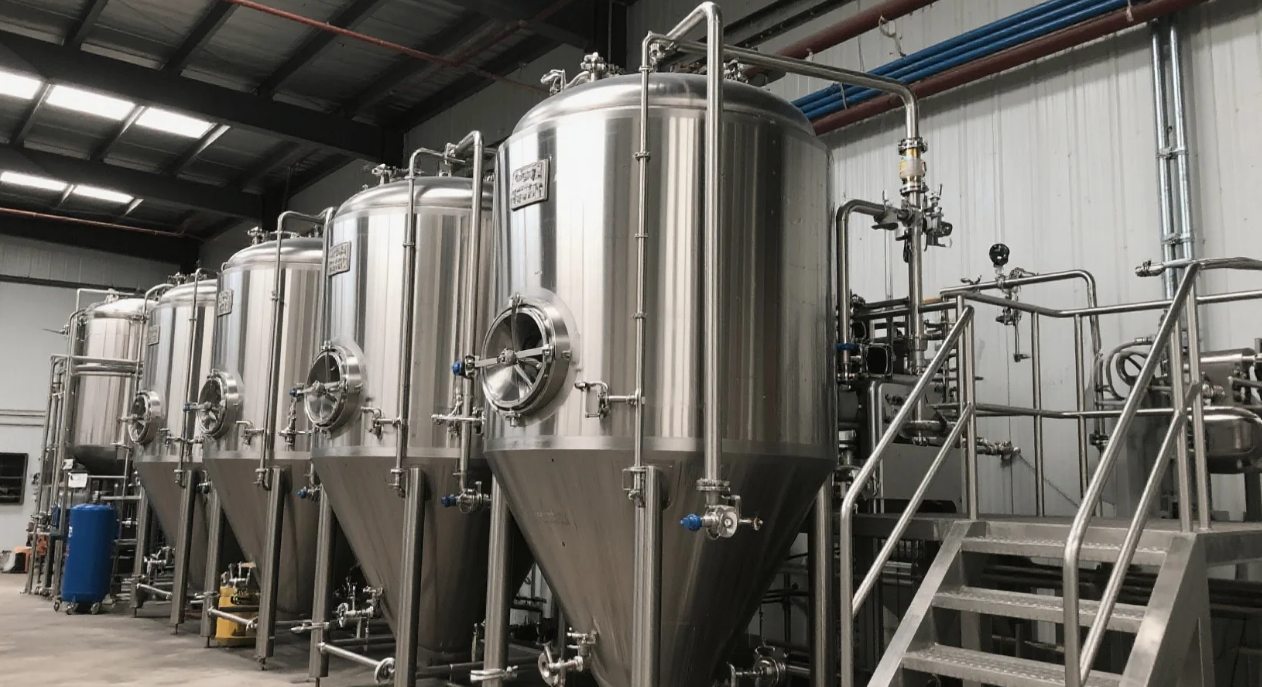
Searching for “1000L brewing equipment cheap price” rarely means hunting for the lowest quote available. Most brewers know that a tank that costs half as much today can cost twice as much in lost batches within the first year. The real problem is telling the difference between genuine cost-effective equipment and a quote that looks good on paper but hides expensive compromises underneath.
A 1000L system typically serves a serious taproom or a small craft brewery doing 1–2 brews per week. At that scale, equipment must meet basic food safety and process control standards. The framework below helps distinguish smart cost management from false economy, based on what actually breaks or causes contamination in practice.
What “Cheap Price” Actually Means for 1000L Brewing Equipment
The phrase “cheap price” in a professional brewing context should translate to cost-effective—not minimal cost. The distinction matters because the lowest quote often achieves savings by reducing material grade, weld quality, or safety hardware, none of which show up on a specification sheet until something fails.
At 1000L volume, a brewery needs tanks that can handle routine CIP cycles, moderate pressure from fermentation, and repeated thermal expansion without deforming. A cheap approach skimps on these basics. A cost-effective approach prioritizes them and cuts spending elsewhere.
The table below contrasts these two mindsets across the dimensions that matter most in daily operation:
| Aspect | “Cheap” Approach | Cost-Effective Approach |
|---|---|---|
| Tank material & thickness | Thin stainless, unknown grade | Proper stainless with adequate wall thickness |
| Internal welds & finishes | Rough, unpolished | Smooth, sanitary welds |
| Safety fittings | Budget valves, no PRV | Industry-standard PRVs and seals |
| Temperature control | No or unreliable controller | Simple but reliable temperature system |
Chasing the lowest quote often means accepting thin-walled vessels that deform under pressure or develop micro-leaks after a few months. That risk is not theoretical—a brewery running 8–10 batches per month can lose an entire fermentation run to a compromised tank, wiping out any upfront savings in a single incident.
The real cost of cheap equipment also shows up in less obvious ways. Rough internal welds increase cleaning time significantly. A tank that takes an extra 20 minutes per CIP cycle adds roughly 10 hours of labor per month at two cycles per week, plus higher chemical and water consumption. These operational costs accumulate silently and rarely appear in the purchase comparison.
Critical Components That Should Never Be Compromised
Certain parts of a 1000L brewery directly affect beer quality and safety. Cutting corners here creates risk that no price discount justifies.
Tank material and wall thickness is the most fundamental consideration. Fermentation and bright beer tanks see mechanical stress from internal pressure, thermal cycling during CIP, and physical handling. Thin walls—often below 2mm in budget tanks—can deform, causing inconsistent cooling jacket contact or outright leakage. Proper 304 or 316 stainless steel with wall thickness appropriate for the vessel diameter and working pressure is non-negotiable. A tank that bulges after six months is scrap metal.
Internal weld quality and surface finish determines how easily the tank can be cleaned and sanitized. Rough welds, incomplete penetration, and unpolished interior surfaces create crevices where organic material and microorganisms accumulate. Even aggressive CIP cycles struggle to reach these pockets. The consequence is contamination that shows up as off-flavors, stuck fermentations, or spoiled batches. Good internal welds cost more in fabrication time, but they prevent the loss of an entire 1000L batch—roughly $4,000–$6,000 in raw materials and labor at typical ingredient costs.
Safety fittings are another area where low cost creates genuine danger. Pressure relief devices, manways, and valves must seal reliably under operating conditions. A PRV that fails to open at the correct pressure can cause tank rupture. A manway gasket that degrades quickly leads to pressure loss and oxygen ingress. Industry-standard components add maybe 3–5% to the tank cost but reduce liability and downtime substantially.
Temperature control is the minimum automation requirement for professional brewing. Fermentation temperature directly affects yeast performance, ester production, and attenuation consistency. A controller that drifts ±2°C or fails mid-fermentation can ruin a batch. Simple but reliable controllers with direct glycol regulation are available at reasonable cost. Skipping this entirely or buying the cheapest option is a false economy.
Where You Can Reasonably Save Money on a 1000L System
You can reduce equipment cost without compromising quality by making deliberate choices about configuration, capacity, and features. These are the levers that experienced brewery planners use.
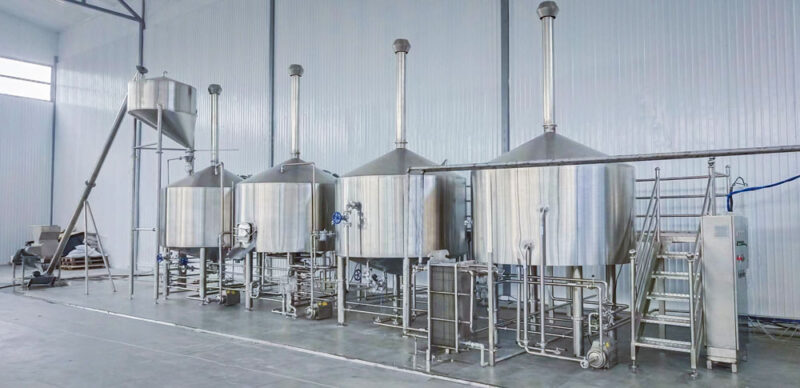
Brewhouse configuration simplicity. A complex multi-vessel brewhouse with separate mash, lauter, kettle, and whirlpool tanks is expensive. Many small breweries operate perfectly well with a simpler two-vessel setup: a combination mash-lauter tun plus a combination kettle-whirlpool. Fewer vessels mean less steel, fewer valves, less piping, and lower fabrication cost. The tradeoff is slightly longer brew days, but for a startup doing 1–2 brews per week, the savings are significant.
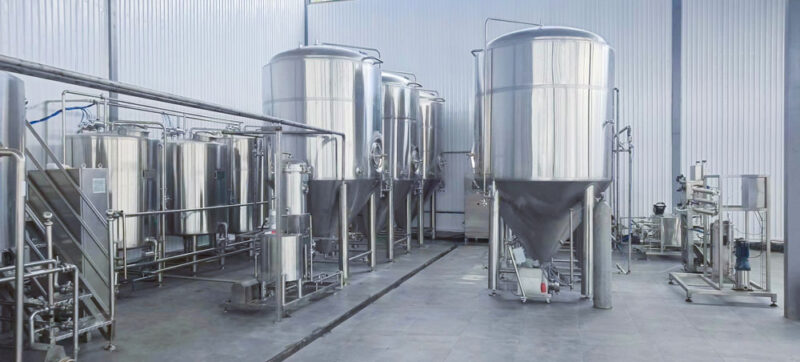
Limited initial tank count. You do not need to fill the brewery with fermenters and bright tanks on day one. Starting with three or four 1000L fermenters and one bright tank covers a typical first-year production plan of 1–2 brews per week with some buffer. Additional tanks can be added later as sales grow. This approach reduces the initial capital outlay by 30–40% compared to a fully equipped facility.
Basic external finishes. Mirror-polished exteriors and decorative cladding look impressive in marketing photos but do not affect beer quality. Matte finishes or standard brushed stainless are cheaper and equally functional. Spend the difference on better internals or additional temperature controllers.
Essential-only automation. Full brewhouse automation with programmable logic controllers, flow meters, and data logging adds substantial cost. For a 1000L operation, reliable temperature controllers and a simple pump panel are sufficient at launch. Automated CIP systems and batch logging can be added in phase two.
Standardized fittings and accessories. Using common tri-clamp sizes, standard valves, and off-the-shelf hoses reduces both initial cost and long-term maintenance headaches. Proprietary or specialized hardware costs more to buy and more to replace when something wears out. Tri-clamp fittings are the industry standard for a reason—they work, they seal, and you can source them anywhere.
Key Factors That Shape 1000L Brewing Equipment Pricing
Understanding how suppliers structure their quotations helps you identify where the money is going and where you can negotiate or simplify.
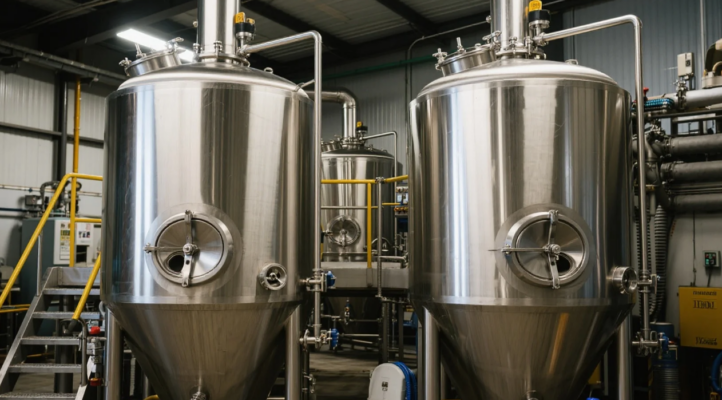
Total tank volume and number of units is the largest single cost driver. More tanks mean more stainless steel, more fabrication hours, more welding, and more shipping weight. A brewhouse with four vessels costs significantly more than a two-vessel system even if both produce the same batch size. When evaluating quotes, check whether the supplier is bundling more tanks than you actually need.
Brewhouse complexity matters as much as vessel count. A system with elaborate grain handling, automated mash recirculation, steam-heated kettles with multiple temperature zones, and integrated CIP spray balls requires more engineering, more piping, and more control components. A simpler direct-fire or electric-heated system with manual mash handling costs less and is easier to maintain.
Cooling and CIP system sizing is another cost variable that often gets overlooked in budget comparisons. A chiller sized for eight 1000L fermenters and a bright tank costs substantially more than a chiller sized for four fermenters. Similarly, a fixed CIP station with dedicated pumps and tank returns costs more than a portable CIP cart. Right-sizing these systems to your actual production plan prevents paying for capacity you will not use in the first year or two.
Level of customization is where costs can spiral. Standard vessel geometries and piping layouts are cheaper to fabricate because the supplier has existing jigs and templates. Custom dimensions, unusual port placements, or non-standard jacket configurations require additional engineering time and fabrication setup. Keeping the design within standard options reduces both lead time and price.
How to Plan a Cost-Effective 1000L Brewery Setup
A structured approach to planning prevents overbuying equipment that sits idle or underbuying capacity that forces early expansion. The steps below reflect what works for breweries starting at this scale.
Clarify your realistic first-year production goal. Most 1000L startups produce 1–2 brews per week in the first year. That translates to roughly 50,000–100,000 liters annually depending on taproom traffic and distribution. Shape your equipment configuration around that number, not an optimistic second-year projection. It is easier to add capacity than to cover debt on equipment you are not using.
Assess your available space and layout constraints. The physical space determines maximum tank height, floor loading, and aisle width for cleaning access. A supplier can quote standard vessels that fit your space, or you can pay a premium for custom dimensions. Measure everything before requesting quotes.
Choose your primary vessel configuration. A two-vessel brewhouse with four 1000L fermenters and one bright tank is a common starting point. This setup supports the 1–2 brew per week cadence, allows for one fermentation in progress and one conditioning, and provides buffer for typical taproom demand. Expand with additional fermenters when your weekly brew count exceeds three.
Set a budget that includes contingency for installation. Equipment purchase price is only part of the total cost. Freight, rigging, connections for water, electricity, and glycol, and commissioning labor typically add 15–25% to the initial quote. A budget without this margin leads to compromises during installation.
Plan the timeline from order to commissioning. Custom-fabricated tanks typically require 8–16 weeks depending on the supplier’s backlog. Imported equipment may take longer due to shipping and customs. A realistic timeline prevents pressure to accept shortcuts during the final installation. Rushing commissioning leads to missed welds, improperly seated gaskets, and calibration errors that cause problems after production starts.
FAQ
Is it worth buying used 1000L brewing equipment?
Used equipment can be cost-effective if you inspect the tanks personally for weld quality, wall thickness, and surface condition. Internal damage from chemical cleaning or physical abuse is not always visible externally. Factor in replacement gaskets, valve rebuilds, and potential relocating costs which can add 15–30% to the purchase price. For a startup, used tanks from a known brewery are often a better value than a new budget supplier.
How much should I budget for a complete 1000L brewery?
A complete 1000L system including brewhouse, fermenters, bright tanks, chiller, and basic controls typically ranges from $80,000 to $150,000 depending on configuration and origin. Budget an additional 20% for installation, plumbing, electrical work, and permitting. The lower end of this range usually requires a two-vessel brewhouse and limited tank count.
What certifications or standards should the equipment meet?
At minimum, tanks should meet ASME pressure vessel standards or an equivalent national code for the country of operation. Internal welds should comply with sanitary welding standards such as those from 3-A or EHEDG. Stainless steel grade documentation should confirm 304 or 316 alloy. These certifications are not optional—they directly affect safety and cleanability.
Can I upgrade a cheap system later, or should I buy right the first time?
Upgrading individual components like valves, controllers, or pump panels is straightforward. Replacing tanks, redoing internal welds, or adding cooling capacity is cost-prohibitive. Buy the tanks, welds, and cooling system correctly from the start. Budget automation and finishes can be upgraded gradually without tearing apart the brewery.
How do I compare quotes from different suppliers?
Compare the specification details line by line: wall thickness, weld finish specification, valve brands, PRV certification, controller accuracy, and material grade. A quote that is 20% cheaper but uses 1.5mm wall thickness instead of 2.5mm is not cost-effective—it is a future failure. Request weld sample photos and material certificates before making a dec
